 |
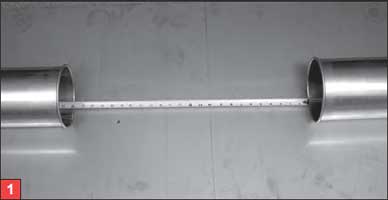
Measure the distance to be spanned. |
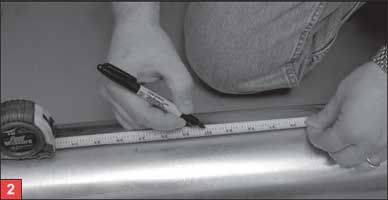 |
Mark pipe approximately 4” more than the distance needed. |
|
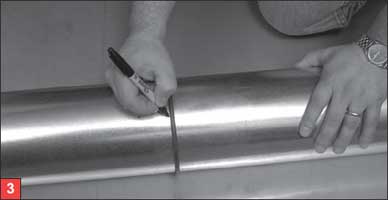
Mark for cutting. |
|
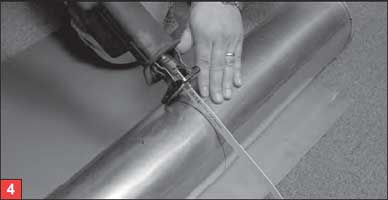
Drill access hole, then cut with metal snips or saw along line, then remove burrs. |
|
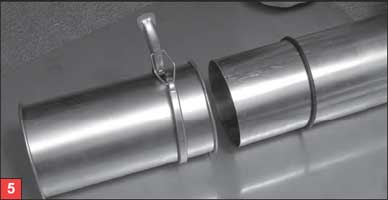
Put O-ring on cut pipe. Slide slip joint over cut end of pipe. |
|
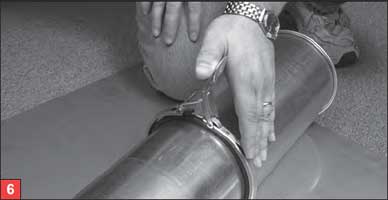
Adjust its length. Snap clamp over O-ring and one end of slip joint. |
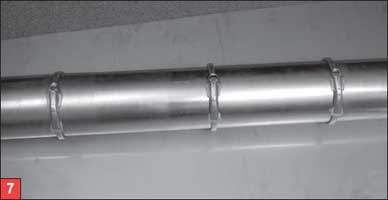 |
Insert slip joint assembly to complete connection. |
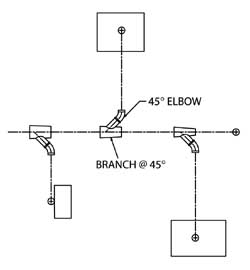 |
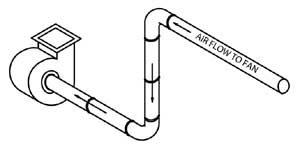
Connect all 45° branch pieces and 45° elbows to produce a required 90° angle. Lay out branch and elbow assemblies on the floor in line with machine entry points as shown at left. |
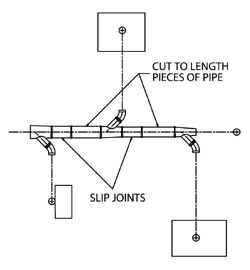 |
Connect the branches to ducting sections of the correct length and diameter. Adjustment to length on duct sections is achieved by using LaserLock™ slip joint assembly instructions described HERE. |
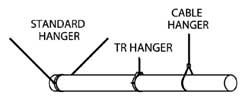 |
Carefully raise main or sub-main to required center line height above floor using preferred LaserLock™ hanging material listed HERE. |
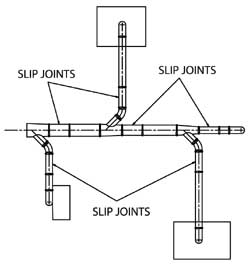 |
Extend branch arms to machines using correct length and diameter duct. Adjustment to length of duct sections is achieved by using LaserLock™ slip joint assembly instructions HERE. Fit another 90° elbow on end of each horizontal run. |
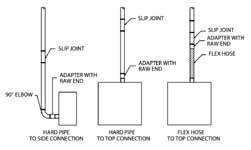 |
Install vertical risers from machines to horizontal runs using your preferred method of connection. |
 |
Connect main or sub-main to filter, fan or desired machinery with required standard or custom fitting manufactured by Duct Incorporated, or continue with next section of system. |