This guide covers the complete installation sequence for a 90-degree duct elbow, from pre-installation checks through post-installation validation. It follows SMACNA and IMC standards and applies to spiral round duct used in dust collection, industrial ventilation, and material handling systems — the environments where installation errors carry the highest operational cost.
Skilled HVAC technicians, sheet metal workers, and experienced facilities maintenance teams can handle most installations. For duct diameters above 18 inches or high-pressure commercial systems, a qualified sheet metal technician is the right call.
Key Takeaways
- Verify duct diameter and elbow compatibility before starting — mismatched fittings are the leading cause of installation failure
- Drive at least three sheet metal screws equally spaced around each connection joint, per IMC code requirements
- Seal every joint and seam with UL-181B-rated mastic or foil tape — standard duct tape is not code-compliant
- Pre-set adjustable elbows on the ground before lifting into position to avoid misalignment in confined spaces
- Confirm with a hand-feel air leak test and downstream airflow check before restarting the system
Installation Guide for a 90-Degree Duct Elbow
The installation sequence follows a defined order: elbow selection → site preparation → positioning and alignment → mechanical fastening → sealing → validation. Skipping steps, particularly alignment and sealing, causes the most common long-term failures.

A single elbow installation typically takes 30–60 minutes for a skilled technician. Adjustable elbows in confined spaces, or diameters above 16 inches, can take longer and may require a second person.
Prerequisites and Safety Considerations
Before touching the duct, confirm the following:
- System is shut down. Power off the fan or blower and verify airflow has stopped. Per OSHA 1910.147 lockout/tagout requirements, unexpected startup during ductwork maintenance is a serious hazard.
- Dimensions are verified. Confirm duct diameter, shape (round, rectangular, or oval), material gauge, and that the elbow's end dimensions match both existing duct sections exactly.
- Clearance is adequate. You need enough room to maneuver the elbow into position and drive fasteners around the full circumference without obstruction.
Non-negotiables:
- Do not begin work with the HVAC system running
- Do not force-fit a mismatched elbow (resistance during seating indicates a diameter or angle mismatch)
- Wear cut-resistant gloves (sheet metal edges cause lacerations) and eye protection, per OSHA 1910.132 and 1910.133
Tools and Parts Required
Essential tools:
- Aviation snips (left and right cut)
- Hex-head sheet metal screwdriver or drill with hex bit
- Tape measure
- Straight edge or aluminum ruler (minimum 48 inches)
- Sheet metal hammer
- Marker
Essential materials:
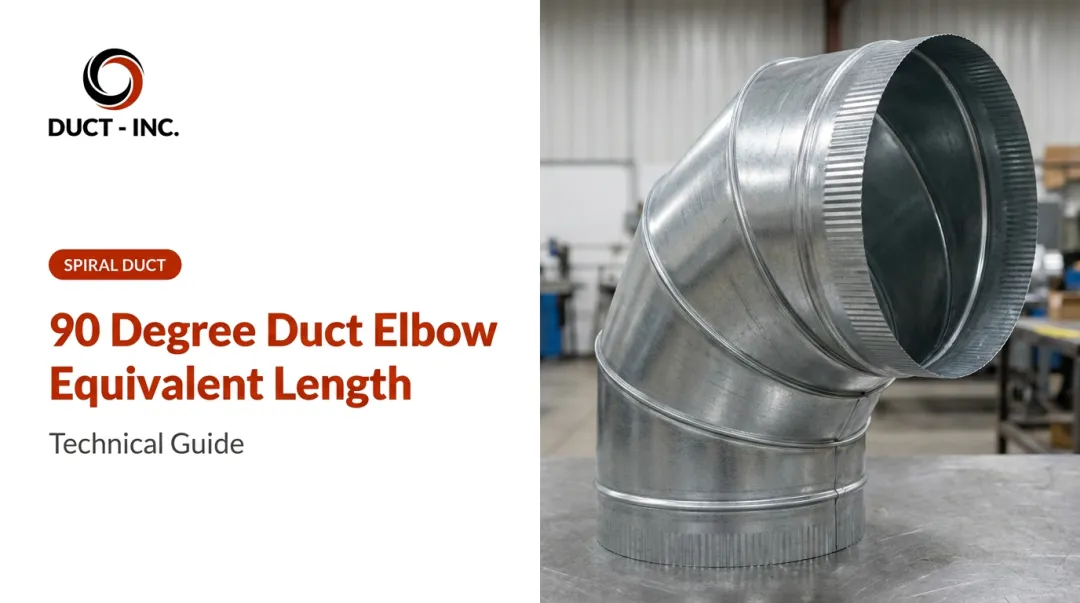
- Correctly sized 90-degree duct elbow (fixed or adjustable)
- Self-piercing hex-head sheet metal screws (#8 × ½ inch)
- UL-181B-rated mastic sealant or foil tape — marked 181B-FX (pressure-sensitive tape) or 181B-M (mastic)
- Duct straps or hangers if the elbow adds a new load point
Recommended additions:
- Flexible measuring tape for confirming diameter in tight spaces
- Slip-joint pliers for adjustable elbow gore manipulation
- Bubble level for checking alignment on horizontal runs
Code Requirement: Never substitute standard household duct tape for UL-181B-rated tape or mastic. The 2024 IMC explicitly requires UL-181B closure markings for metallic duct sealing. Non-rated tape fails over time and does not meet code.
Duct Incorporated supplies industrial spiral duct elbows in galvanized, galvaneal, stainless steel 304/316, and aluminum across a wide diameter range. Material selection should match your system's operating environment and pressure class.
Step-by-Step: How to Install a 90-Degree Duct Elbow
Work through each step in order. The most common failures — air leakage and downstream airflow loss — almost always result from rushing alignment or skipping the sealing step.
Step 1 — Prepare the Installation Site
Clear obstructions in both the inlet and outlet directions of the duct run. Mark the exact connection points on both duct sections with a marker.
If working with an adjustable elbow, pre-set the angle on the ground before positioning. A useful reference: when all gore seams align on the same side, the elbow is at 180° (straight). Alternating seams at every gore produces 90°. Getting this right on the ground takes two minutes; correcting it overhead in a crawlspace takes twenty.
Step 2 — Position and Seat the Elbow
Slide the elbow's crimped end into the receiving duct section:
- Round duct: The crimp band must seat fully into the duct with no visible gaps around the circumference
- Rectangular duct: Align drive cleats or S-cleats on all four sides before engaging
If you feel resistance, stop. Forcing a fitting indicates a diameter or angle mismatch — not a seating problem that more pressure will solve.
Step 3 — Align to the Downstream Duct
Lay a long straight edge (aluminum ruler or level, minimum 48 inches) against both the elbow outlet and the downstream duct section. Both should be co-axial — not cocked at an angle.
For adjustable elbows, fine-tune one gore segment at a time until the outlet aligns precisely. Do not fasten until alignment is confirmed.
Step 4 — Fasten Mechanically
Drive a minimum of three self-piercing sheet metal screws equally spaced around the circumference at each connection point — both inlet and outlet. This is the minimum requirement under the 2024 International Mechanical Code for round metallic ducts.
For larger diameters, SMACNA standards require fasteners at uniform intervals not exceeding 15 inches around the circumference. A useful diameter-based reference:
| Duct Diameter | Minimum Fasteners |
|---|---|
| Up to 10" | 3 fasteners |
| 11"–24" | 4–6 fasteners |
| 25"+ | Per SMACNA table |

Screws should pierce through the crimp band into the receiving duct wall. Resistance noticeably increases when the crimp band pulls tight — that's the indicator of a correct, secure connection.
Step 5 — Seal All Joints and Seams
Apply a continuous bead of UL-181B mastic sealant around the full circumference of each connection joint and across any longitudinal seams on the elbow body.
If using foil tape instead: press firmly with your hand or a seam roller to eliminate air pockets. No raw seam edges should be left exposed.
Pro tip: Apply mastic before tightening the final screw. This lets sealant work into the joint gap as the crimp band draws tight, producing a better seal than sealant applied over a fully fastened joint.
Step 6 — Add Hangers if Needed
Once sealing is complete, check whether the elbow introduces a new load point or changes the duct run direction in a way that stresses adjacent sections. If so, add a duct strap or hanger near the elbow. Industry guidance from SMACNA-derived sources specifies hangers within 2 feet of each elbow.
Duct Incorporated carries hanger and support hardware for industrial duct installations. Confirm span and load specs with their technical team for your specific application.
Post-Installation Checks and Validation
Before returning the system to full operation, confirm the installation is correct:
Visual inspection (system off):
- No visible gaps at either connection joint
- No unsealed seams or exposed raw edges
- Elbow body is not kinked, ovalized, or distorted
- No visible daylight between elbow and duct at any point
Functional test (system running):
- Hold a hand or tissue near all joints — no detectable airflow at seams
- Listen for whistling or hissing, which indicates unsealed gaps
- Check the downstream register for expected airflow delivery
Indicators of a failed installation:
- Reduced airflow from the downstream register
- Audible air leakage at joints
- Mastic cracking or tape lifting within the first few days
- Flex duct liner stress visible near the elbow connection

If any of these appear, shut the system down, identify the specific failure point, and re-seal or re-clamp before running continuously.
Common Installation Problems and Fixes
Adjustable Elbow Won't Rotate to the Correct Angle
Problem: Gore segments lock up during angle adjustment, most commonly on elbows 16 inches and larger.
Likely cause: Gores have shifted off-track, or the elbow has become oval during handling, increasing friction between segments.
Fix: Set the elbow on end on flat ground. Apply controlled pressure to rotate while holding one gore with your legs or a clamp. Use a sheet metal hammer and flat screwdriver to gently realign any gore that has slipped off-track. Avoid over-squashing the elbow — a more oval cross-section makes rotation harder, not easier.
Air Leakage at the Elbow Joint After Installation
Problem: Detectable airflow at one or both connection joints after fastening and sealing.
Likely cause: Mastic applied too thin, foil tape not pressed firmly enough to eliminate air pockets, or a pre-sealing misalignment that left a visible gap.
Fix: Power down the system. Re-apply mastic generously over the affected area, overlapping existing sealant by at least one inch. Allow full cure before re-testing. If a gap is visible, remove the elbow, re-align, re-fasten, then re-seal.
Downstream Airflow Is Noticeably Reduced
Problem: The zone served by the duct branch receives significantly less conditioned or process air after elbow installation.
Likely cause: Elbow installed with incorrect orientation or too tight a throat radius for the system's design CFM. In some cases, a kinked or compressed downstream connector or flex hose is the actual culprit.
Fix: Confirm the elbow is oriented correctly relative to airflow direction. Check downstream connections for kinking or compression.
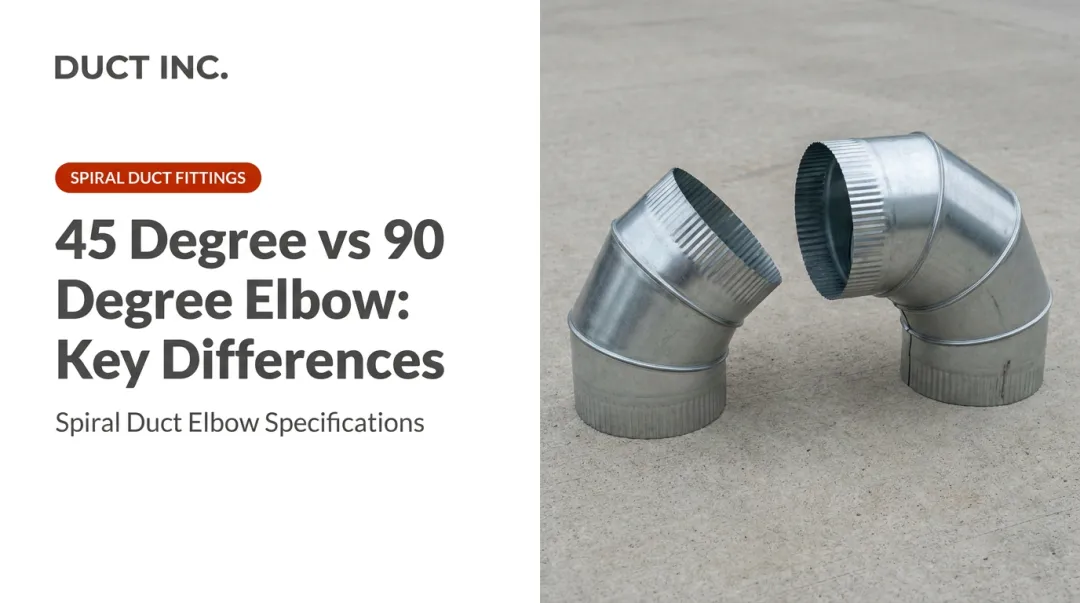
If the system design allows, replacing a single 90-degree elbow with two 45-degree elbows separated by a short straight section reduces friction loss and turbulence. ASHRAE fitting-loss data shows a smooth-radius round elbow at r/D 1.5 carries a loss coefficient of 0.15 — versus 1.2 for a mitered 90-degree turn.

Pro Tips for Installing a 90-Degree Duct Elbow Effectively
Pre-set adjustable elbows before lifting. Setting the correct angle and test-fitting the assembly on the ground takes five minutes. Correcting it in a tight mechanical room or overhead industrial run takes much longer and increases misalignment risk.
Where layout permits, two 45-degree elbows with a short straight section between them reduce pressure drop, lower noise, and improve CFM delivery compared to a single 90-degree turn — worth the extra fitting cost on high-volume runs.
Seal before final tightening. Apply mastic before driving the last screw at each joint. The sealant works into the gap as the crimp band tightens, producing a tighter air seal.
Know when to bring in a specialist. Duct diameters above 18 inches, high-pressure systems, or multi-elbow transitions in confined mechanical spaces require a qualified sheet metal technician — incorrect installation can throw off static pressure balance across the entire distribution network.
Conclusion
The quality of a 90-degree duct elbow installation determines whether a duct system performs as designed or loses capacity slowly over time. A poorly aligned, unfastened, or unsealed elbow doesn't just affect one branch: it degrades the entire system's pressure balance and energy efficiency.
The sequence matters: select the right elbow and confirm dimensions before starting, align before fastening, fasten before sealing, and validate before returning the system to service. Following that order consistently prevents the three most common installation failures.
For industrial spiral duct applications in dust collection, material handling, or process ventilation, the fittings themselves matter as much as the technique. Duct Incorporated manufactures spiral duct elbows and fittings to proper gauge standards across a full diameter range — available factory-direct for standard catalog sizes or custom fabrication for non-standard configurations.
Frequently Asked Questions
What is a 90-degree duct elbow?
A 90-degree duct elbow is a prefabricated sheet metal fitting used in HVAC and industrial ductwork to redirect airflow by exactly 90 degrees. It is available in fixed and adjustable configurations for round, rectangular, and oval duct types, and is typically made from galvanized steel, aluminum, or stainless steel.
Do duct elbows need to be sealed?
Yes. All elbow joints and seams must be sealed with UL-181B-rated mastic sealant or foil tape. The 2024 IMC requires UL-181B-marked closure materials for metallic ductwork. Unsealed joints allow conditioned air to escape, reducing delivery pressure and increasing operating costs.
Can I use two 45-degree elbows instead of a 90-degree elbow?
Yes, and in high-volume supply runs it is often the better option. Two 45-degree elbows with a short straight section between them produce lower friction loss and quieter airflow than a single tight 90-degree turn.
What is the difference between a fixed and adjustable 90-degree duct elbow?
A fixed elbow is pre-formed to exactly 90 degrees and is the simpler option to install and seal. An adjustable elbow uses rotating gore segments settable from roughly 0 to 90 degrees, offering layout flexibility but requiring more careful angle-setting and sealing.
What screws should I use to fasten a sheet metal duct elbow?
Self-piercing hex-head sheet metal screws (#8 × ½ inch) are the standard fastener. Drive a minimum of three screws equally spaced around the full circumference at each joint. For larger diameters, follow SMACNA spacing requirements (maximum 15-inch intervals around the circumference).
How do I know if my 90-degree duct elbow is installed correctly?
A correct installation shows no visible gaps at connection joints, no air detectable by hand near seams with the system running, expected airflow at the downstream register, and no whistling or hissing that signals unsealed leaks.